Setting Up the Atlassian JIRA Tool
This guide will walk you through the steps to configure and authenticate the Atlassian JIRA tool.
Adding and Configuring the JIRA Tool
-
Add the Tool
Navigate to the library and select the "Atlassian JIRA" tool:
-
Select Authentication Type
Choose "Basic Authentication" as the authentication method.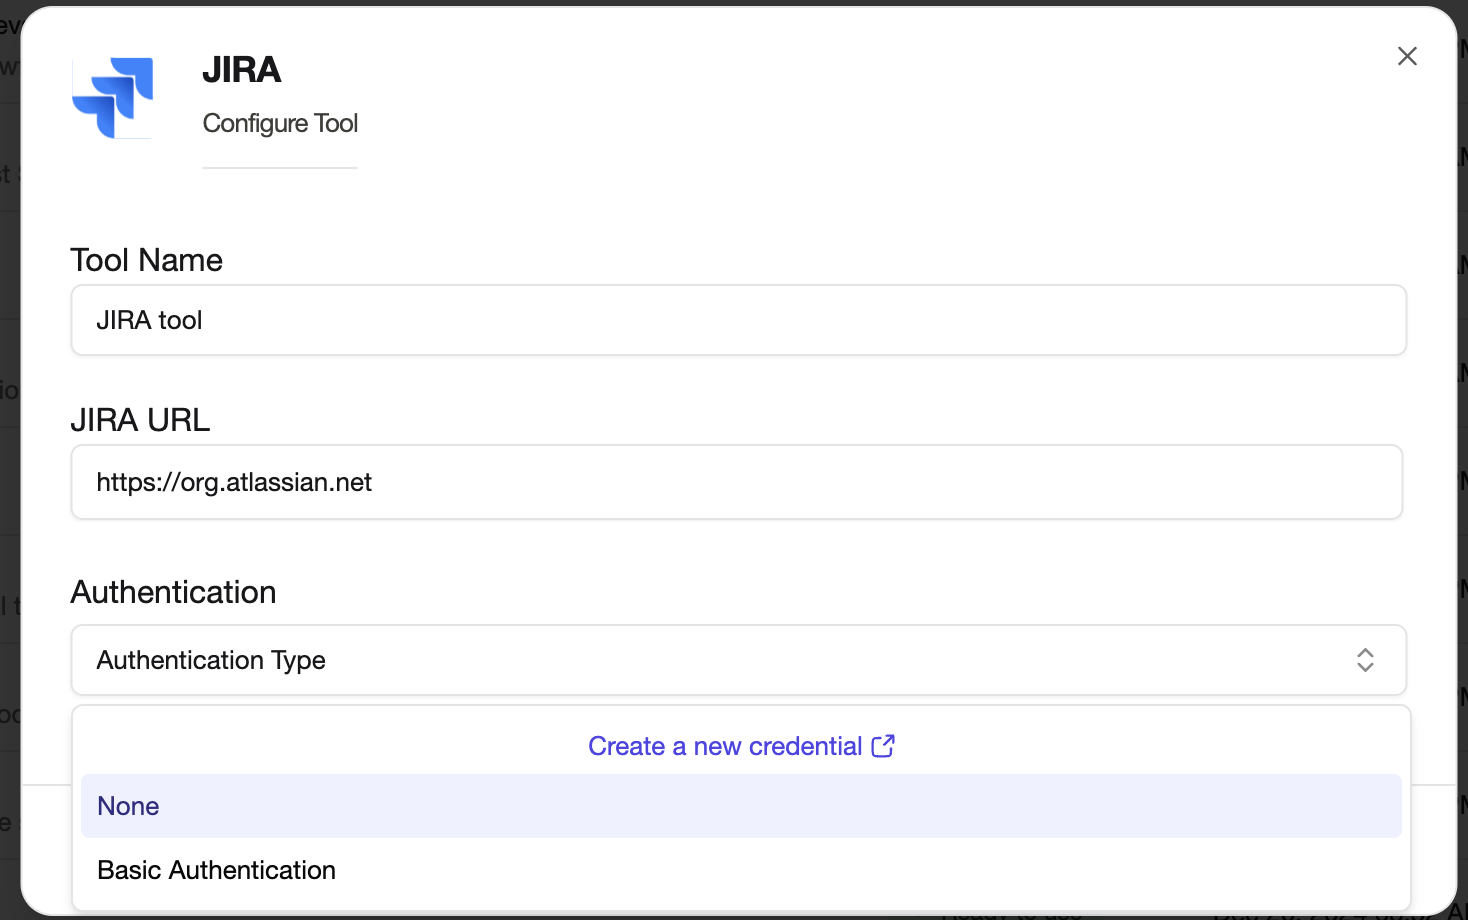
-
Use or Create an Authentication Key
- If you already have a Basic Authentication key, select it from the list.
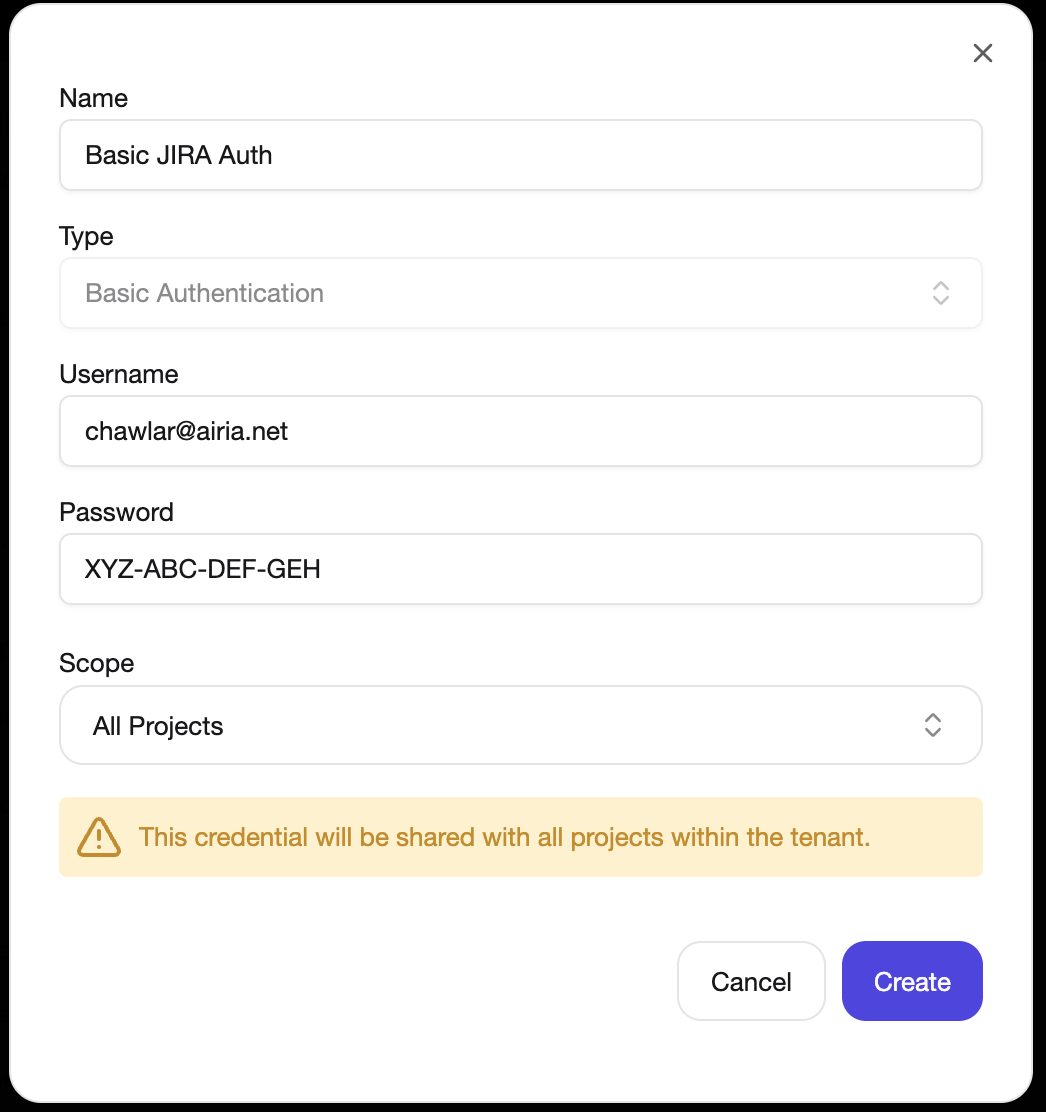
- If you need to create a new Basic Authentication key, select "Create a New Credential", followed by Basic:
- Enter your email address as the username.
- Enter your API token as the password.
Retrieving Your API Key from JIRA
Follow these steps to generate an API key from your JIRA account:
-
Access the Security Settings
Go to your JIRA account and navigate to:
Manage Profile -> Security settings, or directly visit:
https://id.atlassian.com/manage-profile/security/api-tokens. -
Create a New API Token
- Click the "Create API Token" button.
- Provide a name for the token (e.g., "API Integration").
- (Optional) Set an expiry date

-
Use Your API Token
- When making API requests, use your email address as the username.
- Use the generated API token as the password.
Now that the tool has been added, you can add it to any model and start querying it with natural language. The JIRA tool can understand both JQL or natural queries, and respond with a list of tickets associated.
For improved responses, it is recommended that you add a prompt to your model as well, providing details on your JIRA project and specific fields or terminology for your organization.