Billing for Airia Model Usage
Airia’s universal billing for model usage is an excellent way to streamline token consumption across your organization and the providers that you may leverage for AI usage.
To help explain how billing, invoicing and payments are managed across the platform, we have a short video guide to take you through Billing Management.
New Accounts
All new accounts receive free credit on their balance as a gift from Airia. There is no work needed to activate your credits and you can start adding models from the model library and running Agents or playground executions free of charge until the balance amount is less than $1.
Manage Account
There are two ways to manage transactions with Airia.
- Add money to your account balance
- Set up autopay

Add money to your account
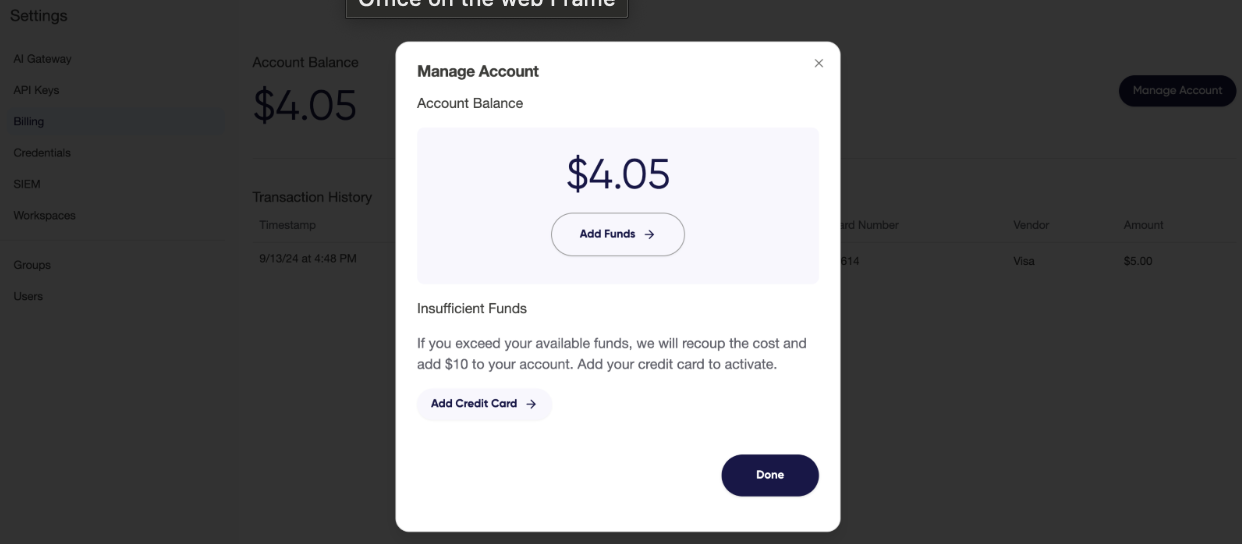
Adding money to your Airia account balance can be done in a few easy clicks.
- Navigate to Settings in left navigation bar
- Select Billing
- Manage Account
- Select Add Funds
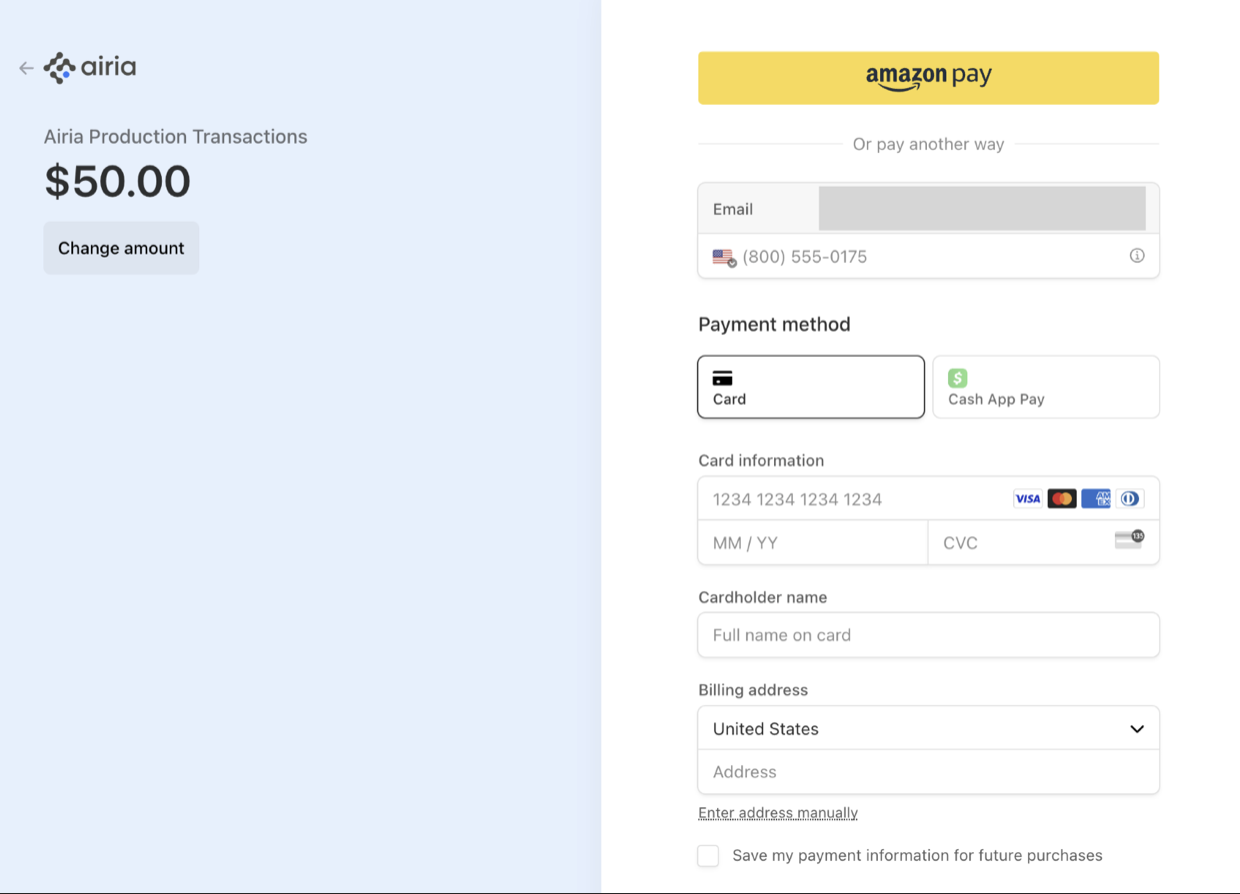
- Select amount
- Enter Credit Card, Cash App Pay, or Amazon Pay information
- Click Pay

Set up autopay
Setting up autopay ensures that your Agents will always run regardless of your account balance. By setting up autopay, your executions will never be blocked due to insufficient funds as long as you have a valid credit card on file. To set up autopay, follow these steps:
- Navigate to Settings in left navigation bar
- Select Billing
- Manage Account
- After reading insufficient funds handling, click to Add Credit Card
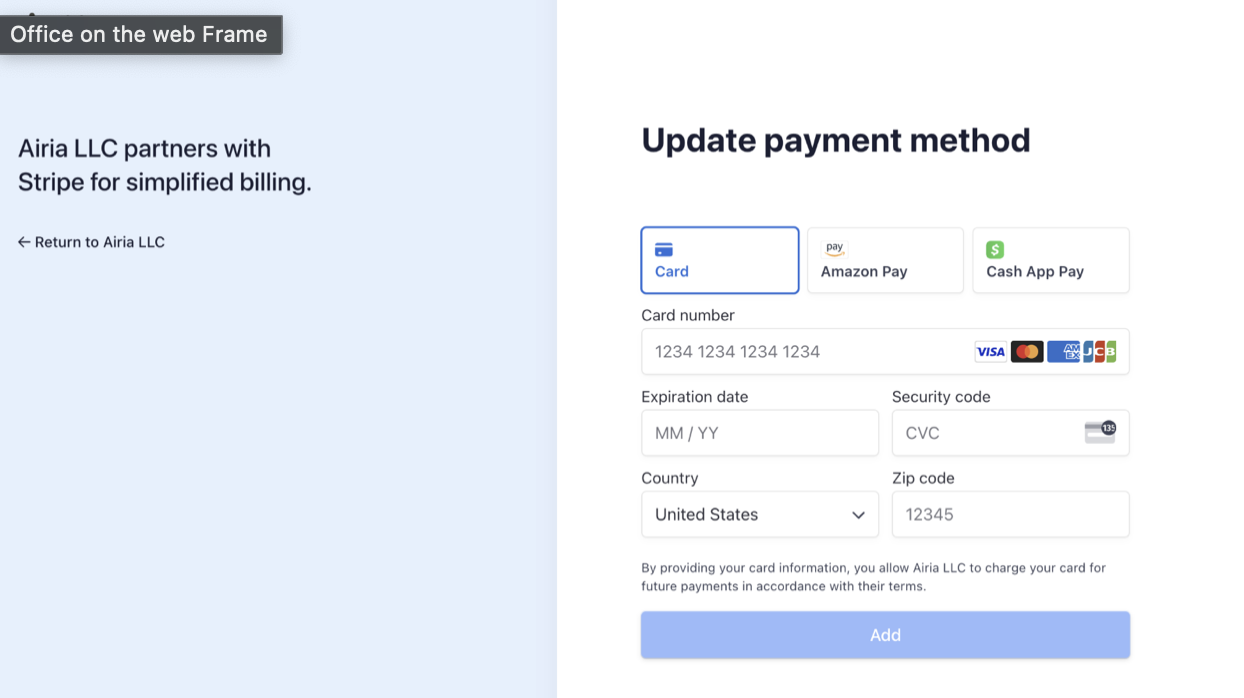
- Enter Credit Card, Cash App Pay, or Amazon Pay information
- Click Add

Transaction History
For full reporting of your transactions and billing, your Transactions History will record the amount of each transaction, timestamp, and relevant credit card information.
