OneDrive and SharePoint
The OneDrive / SharePoint Connector allows you to ingest documents from your storage into your project. To use the connector, you will need to authenticate via your Azure account.
Grant Admin permissions to Airia app so that you can ingest your organizational data
This step is required one time and will enable users to ingest data that they have access for from OneDrive and SharePoint.
Log into Microsoft Entra ID portal and go to Enterprise applications.
Add Airia app manually using the App ID or Client ID that we have provided to you.
Admin approves the required permissions on behalf of your organization.
After granting consent, the app is available for all users in the organization to sync data that they have access for.
We recommend that you create an Airia user that has access to all of the content you want to be ingested in the platform.
Setting Up the OneDrive or SharePoint Connector
Step 1: Select OneDrive or SharePoint from Data Connectors
Navigate to the Data Connectors section of your project and select "OneDrive" or “SharePoint” to add to your project.
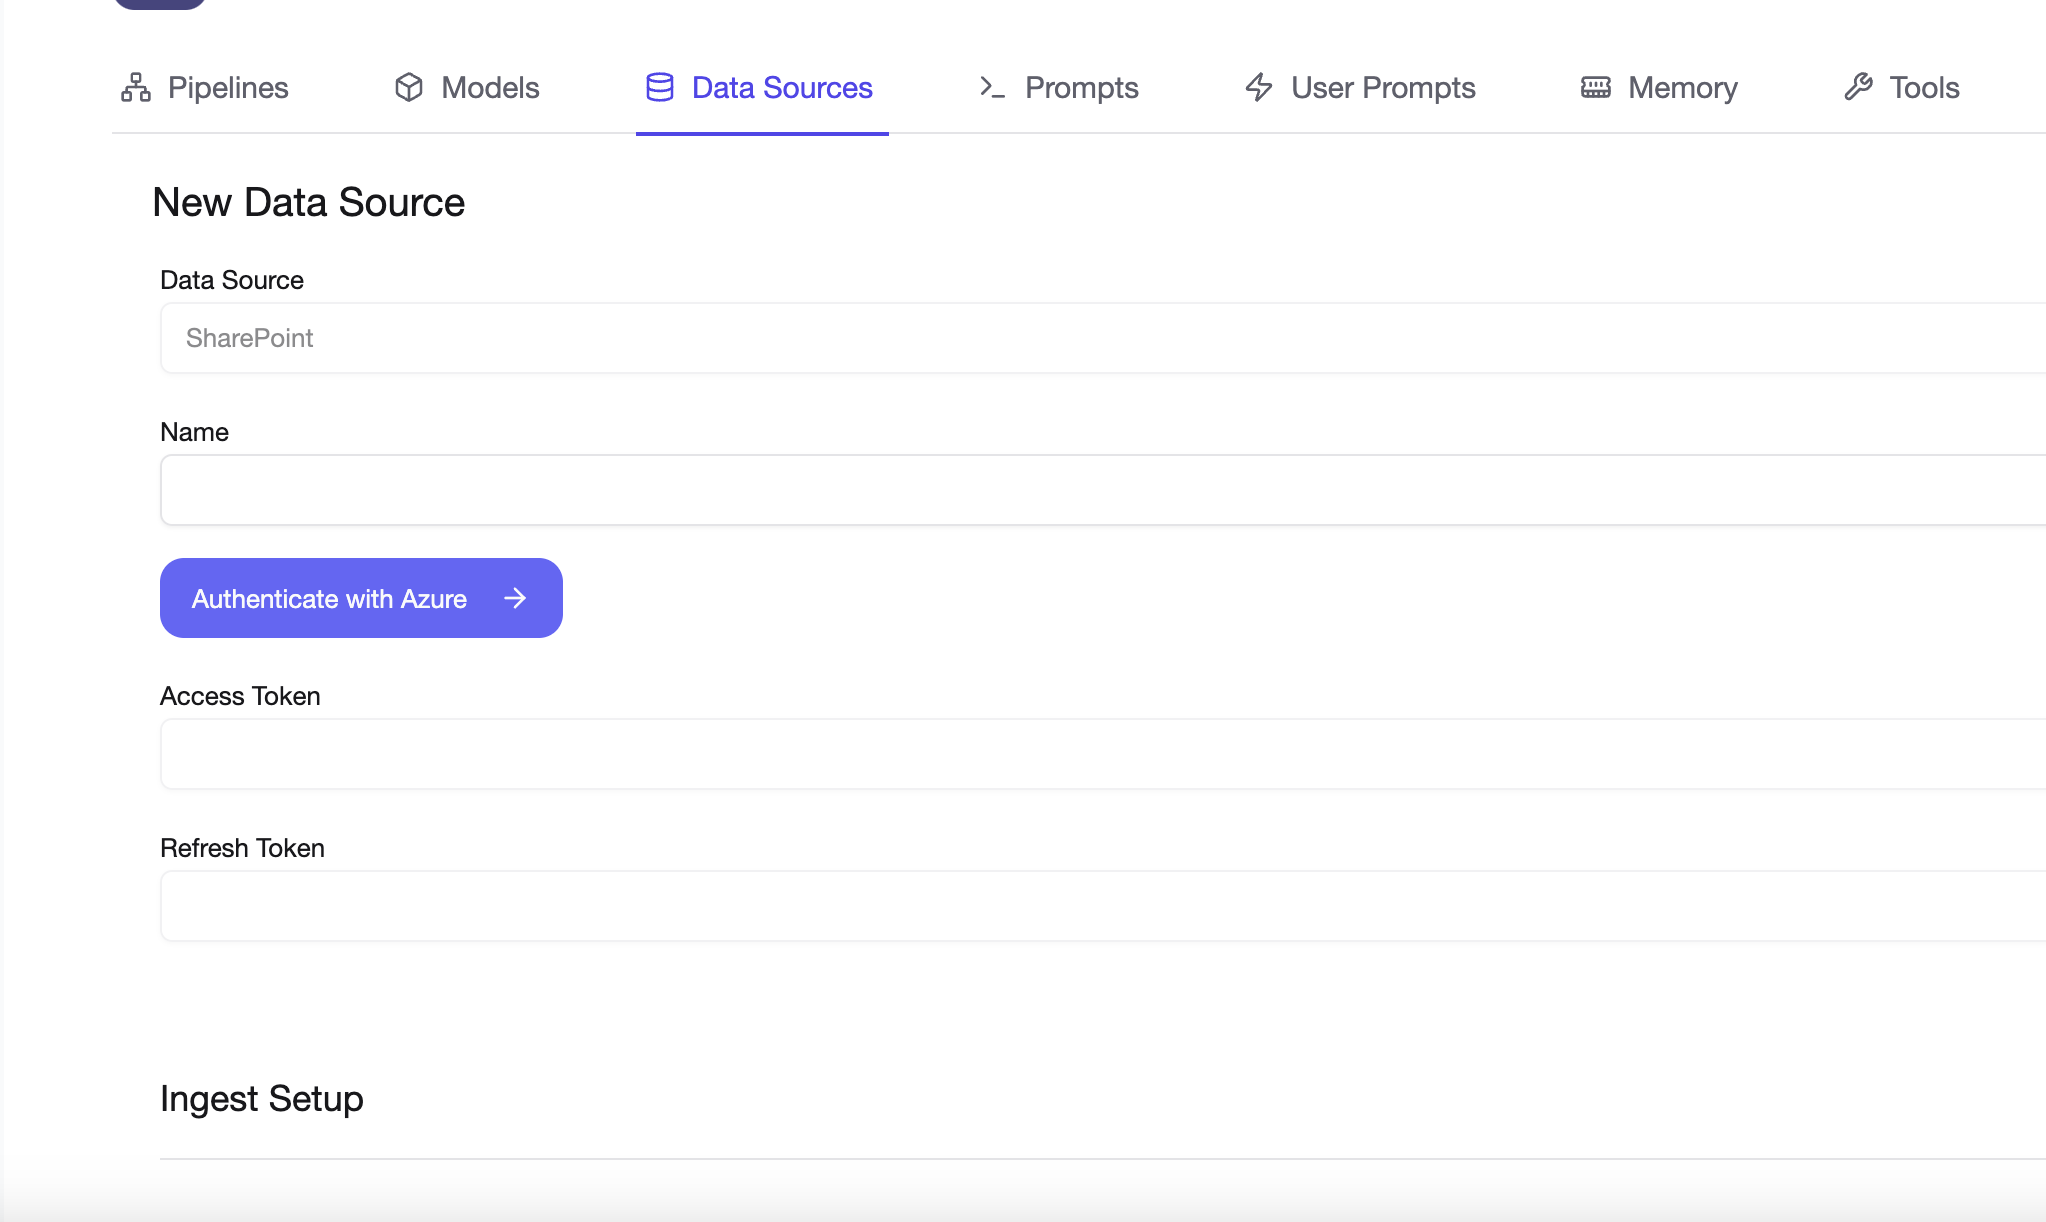
Step 2: Authenticate via your Azure account
You need to provide your username and password for your Azure account to authenticate with the data source and sync your data. When you are ready, click "Next" to select folders to sync.

Step 3: Select folders for ingestion
Browse and select folders for ingestion. You can select and deselect folders and subfolders. For every folder maximum 1000 subfolders can be listed.
Selecting folder "A" will sync everything underneath that folder including files, subfolders, and subfolder's content. Only supported file types will be synced. Reprocessing the data source will sync newly added content to the selected folder, and updated content, and delete removed items automatically.
Edit folder selection.
Go to edit data source. If required, reauthenticate again. Then click "Next" and create your new selection by selecting new folders and/or deselecting previous ones. Note that if authentication is done via new user credentials, the file selector won't show previous selection and all items need to be selected again.
Step 4: View Ingestion Status
Once you provide your connection details, the page will refresh to show the ingestion status. You can view the current ingestion status by clicking on the data source again.
Step 5: Ready to Use
After the data has been ingested successfully, the data source is now ready to be used in an Agent.