The Email Connector allows you to ingest single emails and the attachments into your project. To use the connector, you will need to route the selected emails to a forward email box created specifically for you.
Please, note that emails with empty fields for From, To and Subject are considered spam and won’t be ingested.
Setting Up the Email Connector
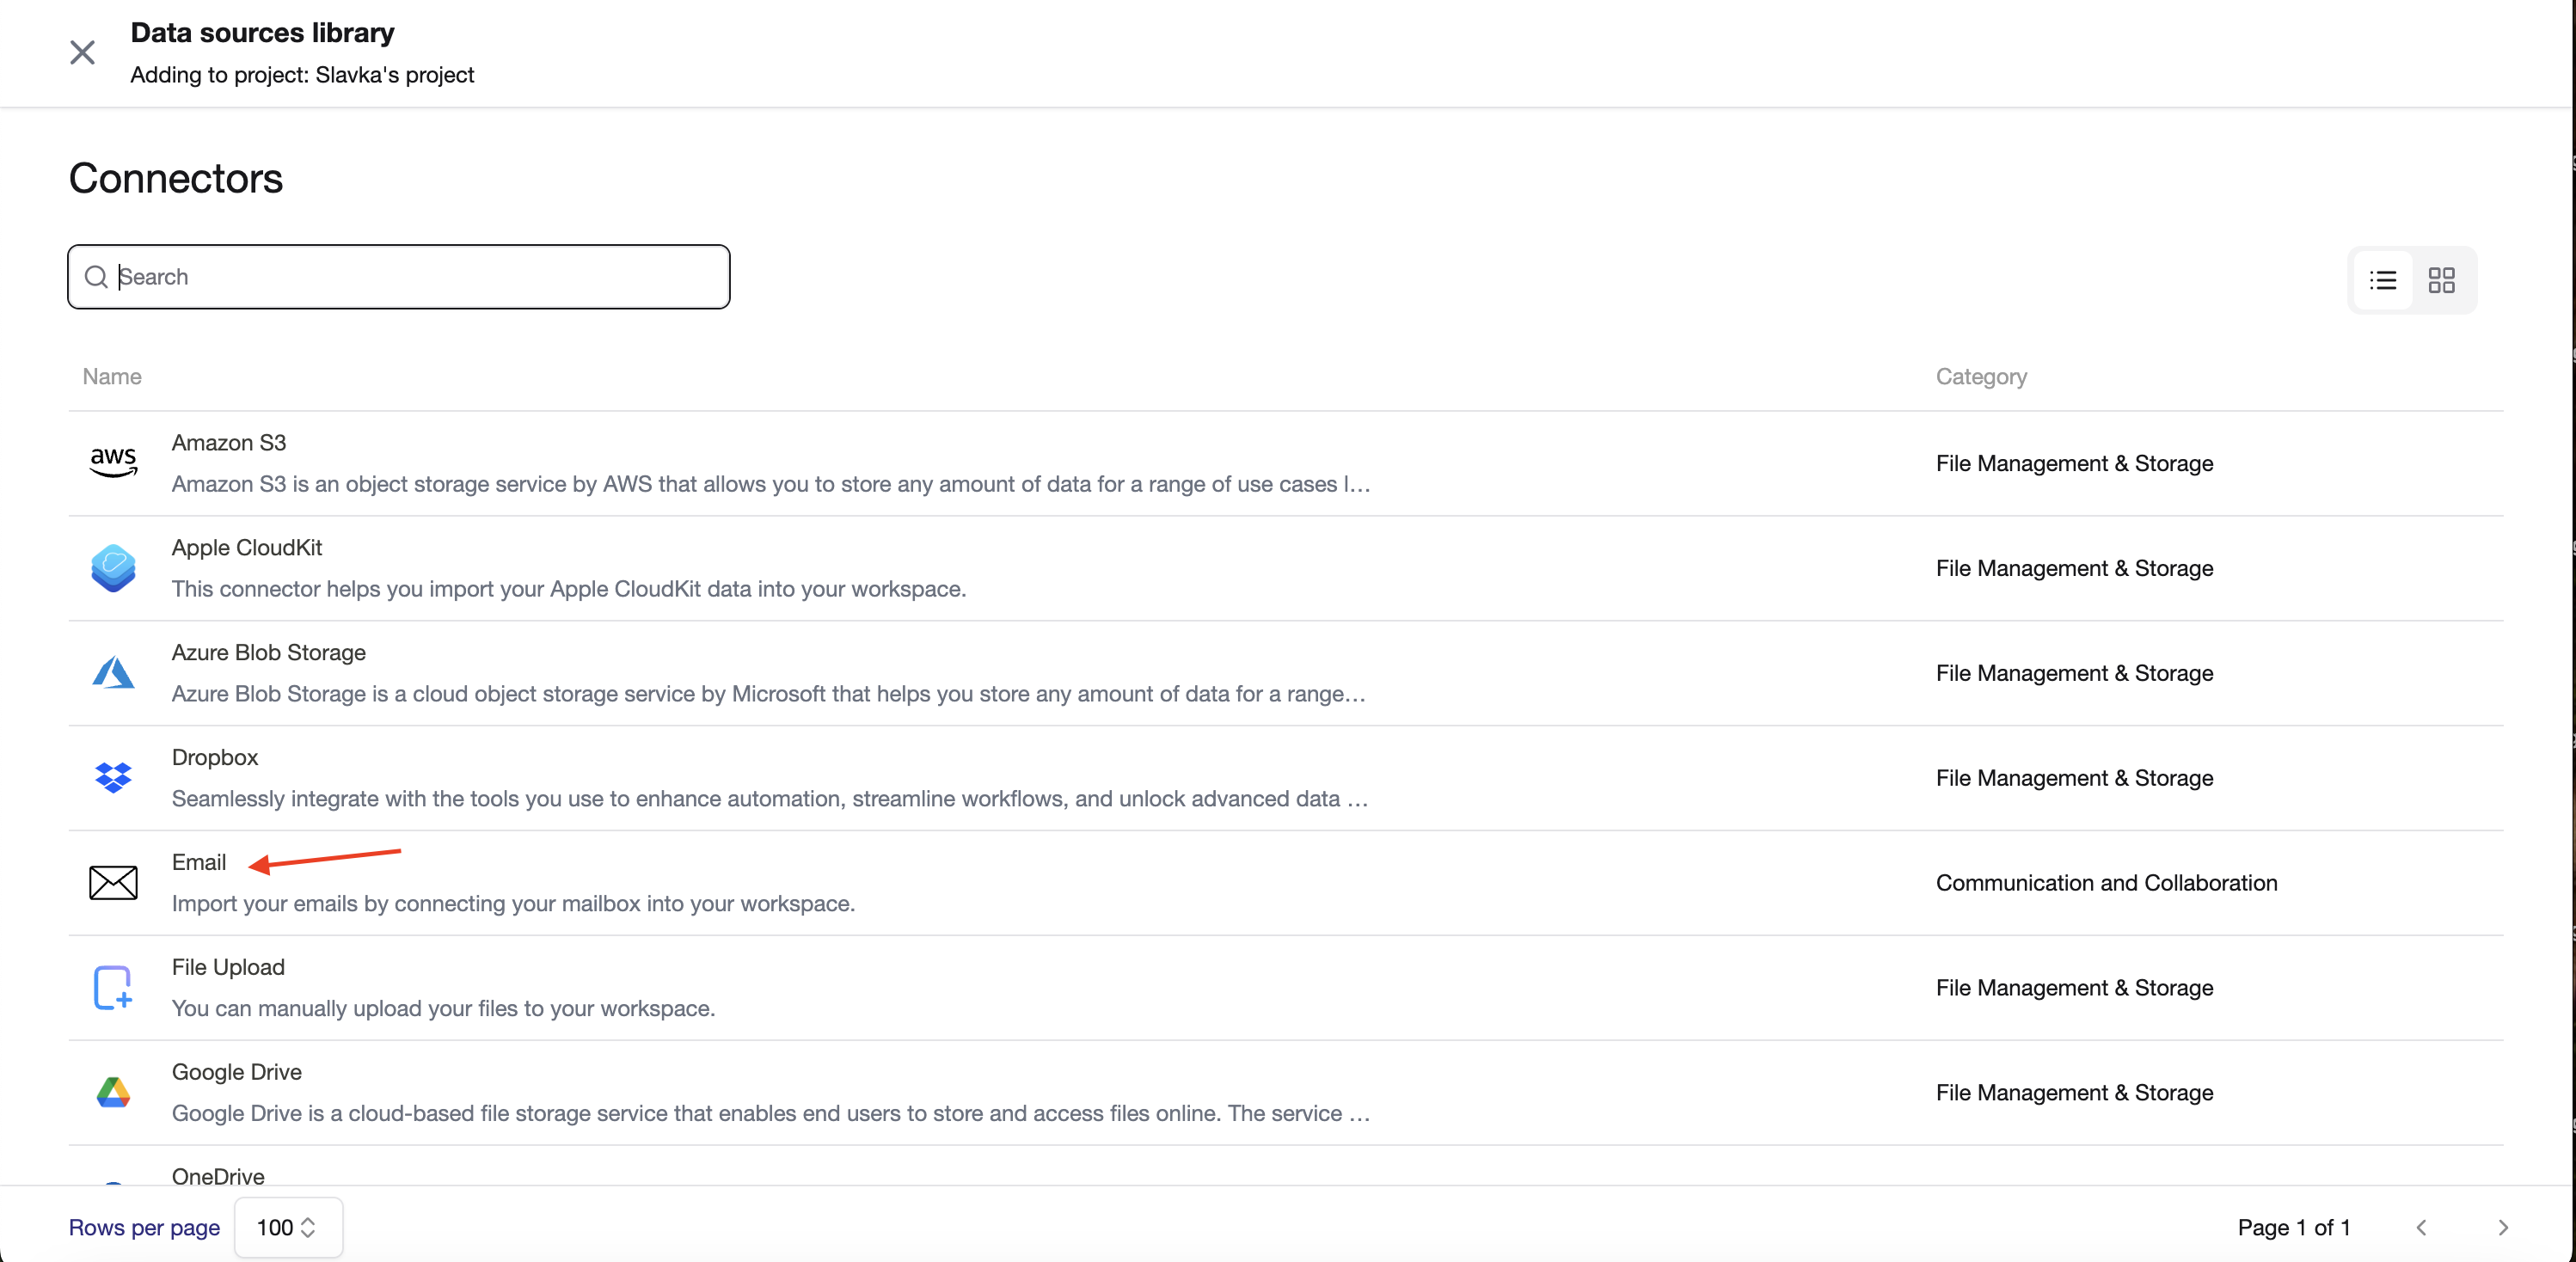
Step 1: Select Email from the Connectors library and create a new data source
Navigate to the Data Connectors section of your project and select "Email" to add to your project.
Step 2: Forward email is generated
A forward email is generated. It is connected specifically to this data source.
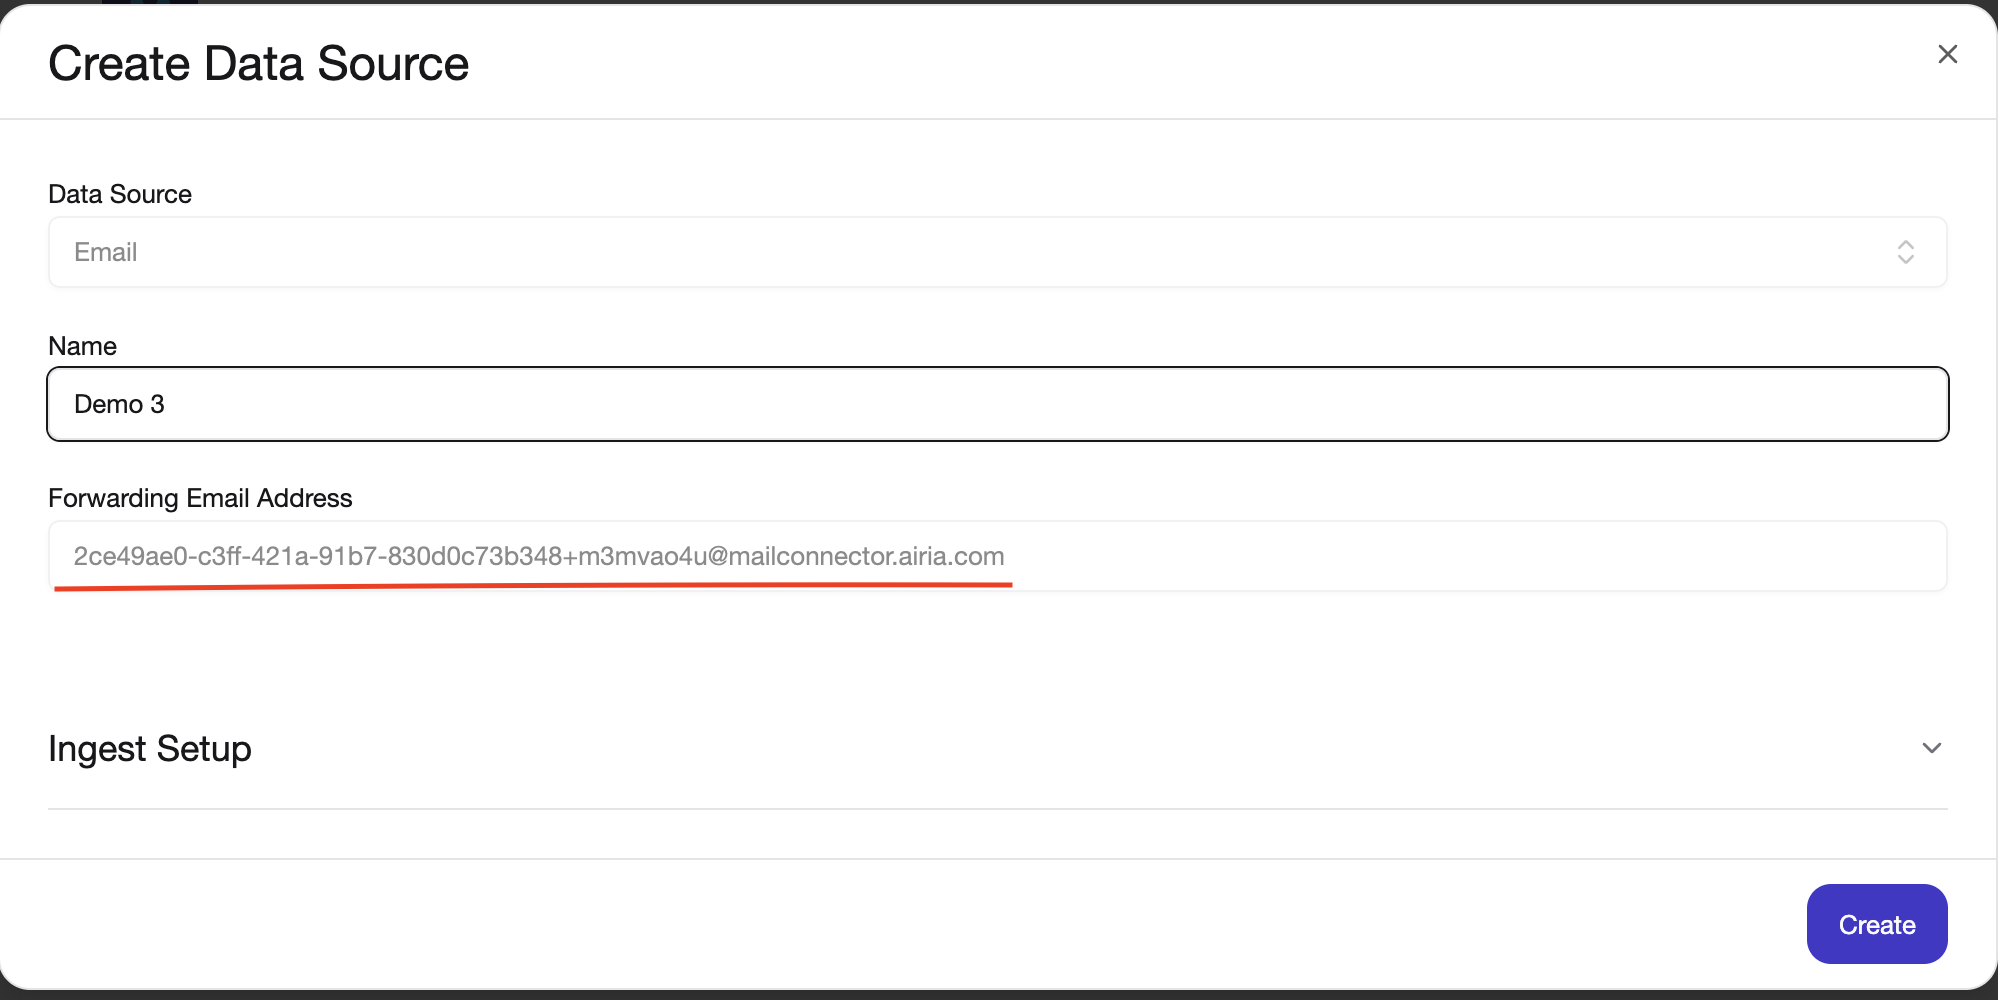
Press “Create” and the new data source is created.
To start ingesting emails, you need to forward them to the email address. You can achieve this in two ways:
- manually - sent the emails one by one.
- programmatically - set a forwarding rule in your mailbox to automate the forwarding of emails for ingestion. For more information on how to do that, check the user guides provided by your email provider.
For Gmail - Automatically forward Gmail messages to another account - Gmail Help
For Outlook - Use rules to automatically forward messages - Microsoft Support
Step 3: View Ingestion Status
Once you forward your emails, you can see the ingestion status by clicking on the data source. You will see a list with all emails and the attachments.
Attachments are shown with their original name and file type. The body of an email is captured under a newly generated name. The name is comprised of the following component - [subject]email[timestamp] where [subject] is the subject of the email and [timestamp] is the timestamp when the email was received.
Step 4: Ready to Use
After the data has been ingested successfully, the data source is now ready to be used in an Agent.
Additional Information
If you encounter any issues, please check your organization’s forwarding policy. You can find the forward email address later on in the Edit dataset details for the data source.